Arabic
  Chinese
  English
  French
  German
  Portuguese
  Spanish
  Swedish

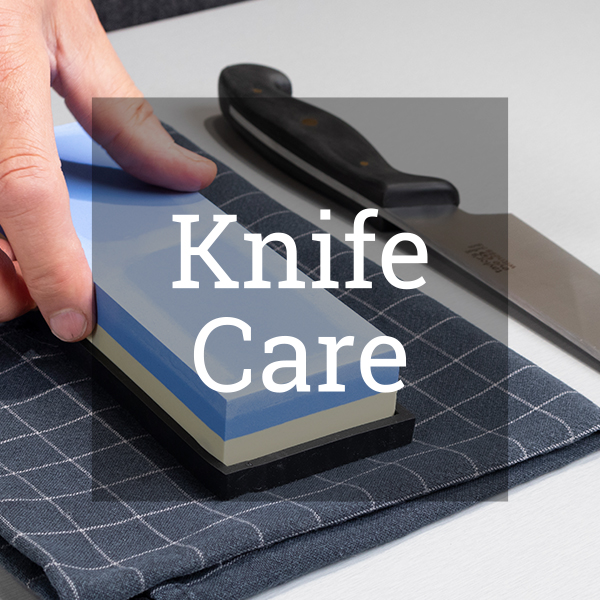


Knife Care
Looking After Your Investment
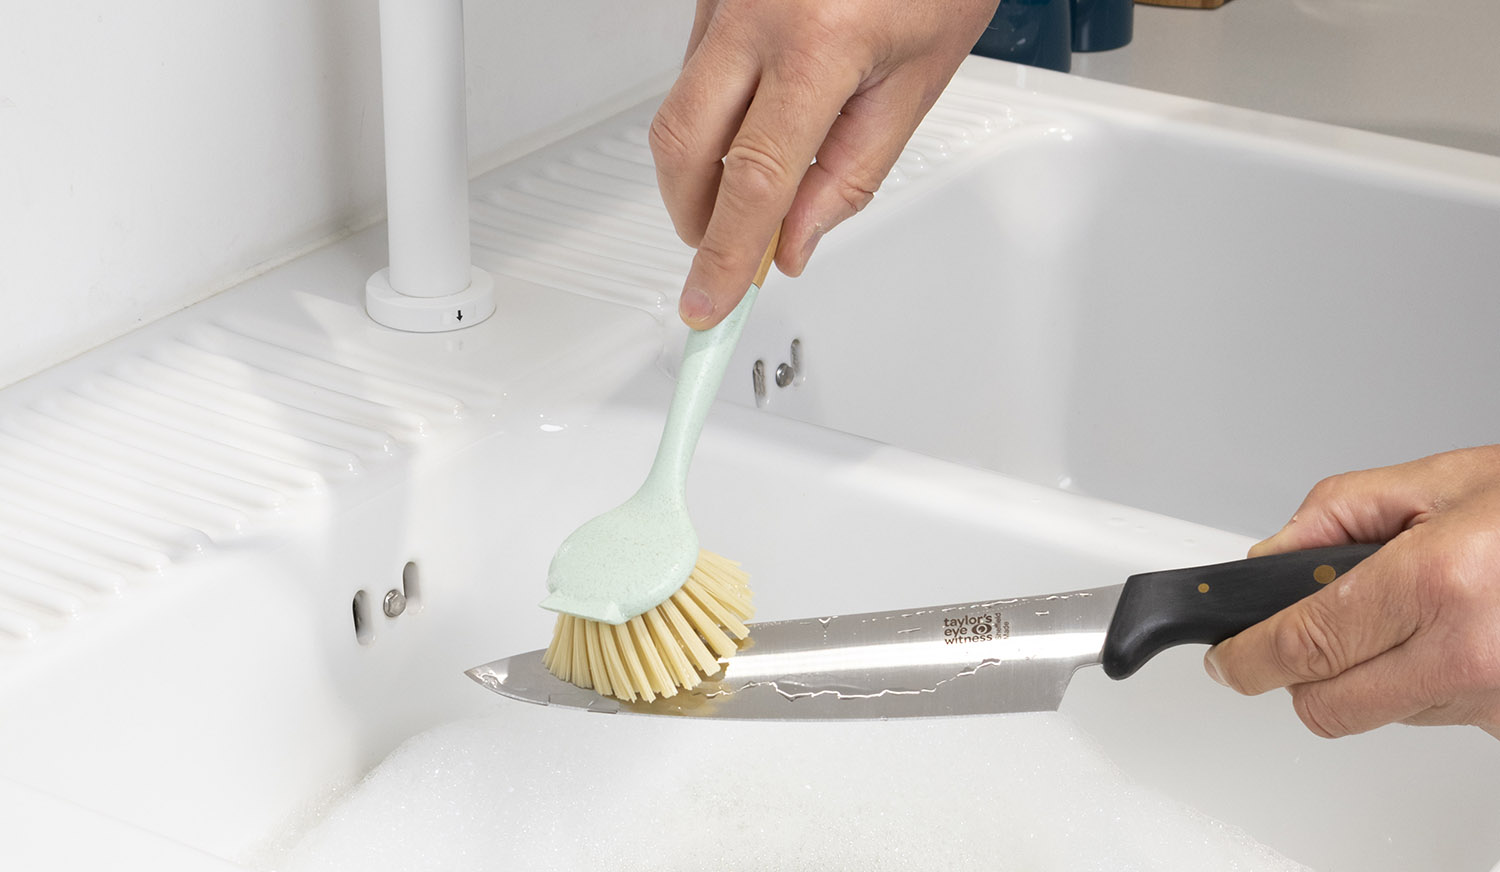
While most of our knives are perfectly fine for dishwasher use, for best results and to keep your knives looking like new for longer, all knives are better washed by hand. With a plastic dish brush and hot, soapy water, gently remove any food residue from the blade. Don’t be tempted to use scouring pads, wire wool or scouring powder. These can create microscopic scratches that may become a source for corrosion and make them harder to clean next time.
When clean, dry by hand right away with a soft towel and return your knife to the knife block.
If you still prefer to use a dishwasher, place knives in the top rack with the cutting edge pointing down. Don’t place knives in contact with other metal items in the dishwasher and make sure not to put sterling silver cutlery in the same cycle as stainless steel kitchen knives. The washing solution can act as an electrolyte and lead to galvanic corrosion between the two dissimilar metals. Avoid “rinse & hold” programmes and dry your knives by hand as soon as the washing cycle is complete.
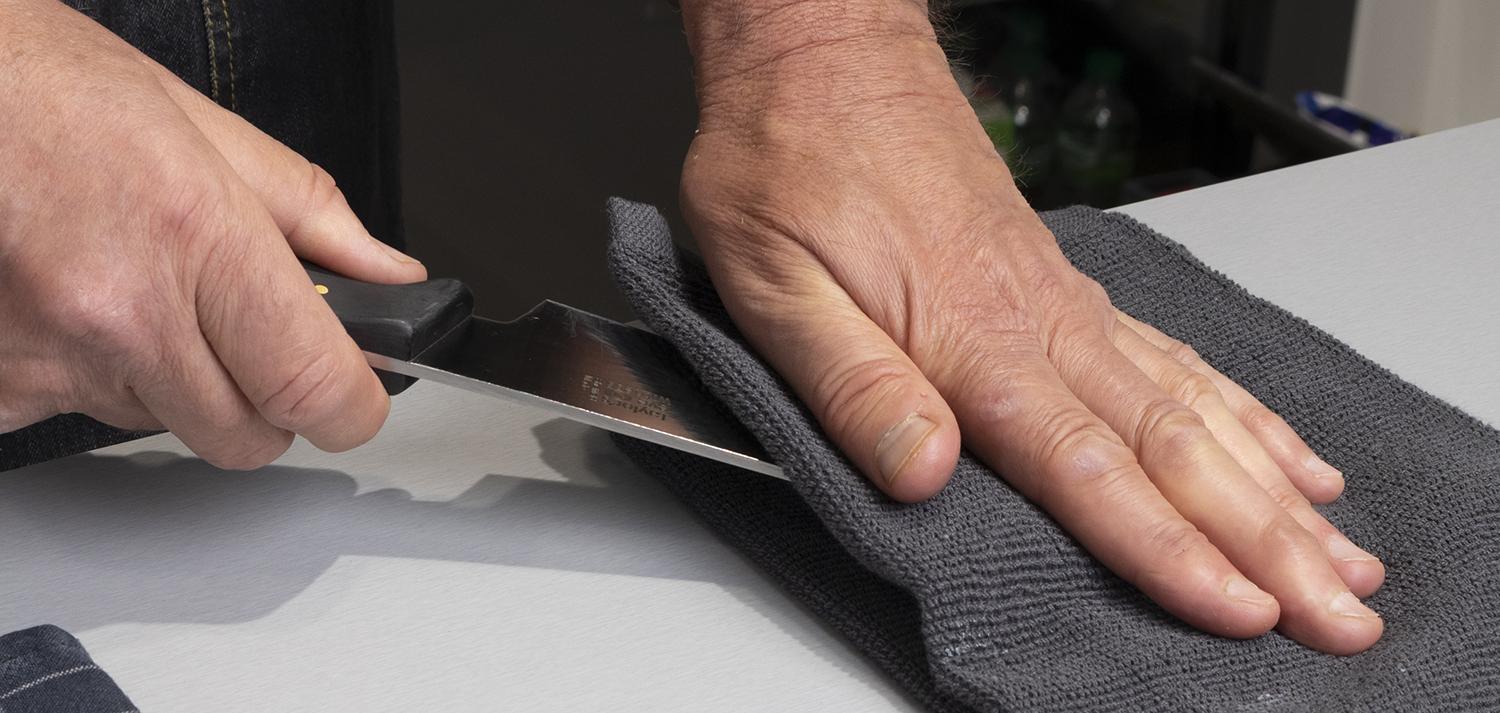
Should any stain spots appear after washing, these can be easily removed with a soft cloth and stainless steel polish.
To keep your knives in best condition, always use a wooden or plastic chopping board to prevent damage to the finely ground edge. Remember that even the hardest steel is no match for ceramic plates, stone countertops or glass worktop protectors.
Never store open blades in the cutlery drawer. Apart from the obvious risk of injury when rummaging for that last teaspoon, the knife edge is prone to damage from other items in the drawer. Consider a universal knife block or magnetic knife rack so that your knives are safely stored and always at hand.
Our Guide to Sharpening Knives
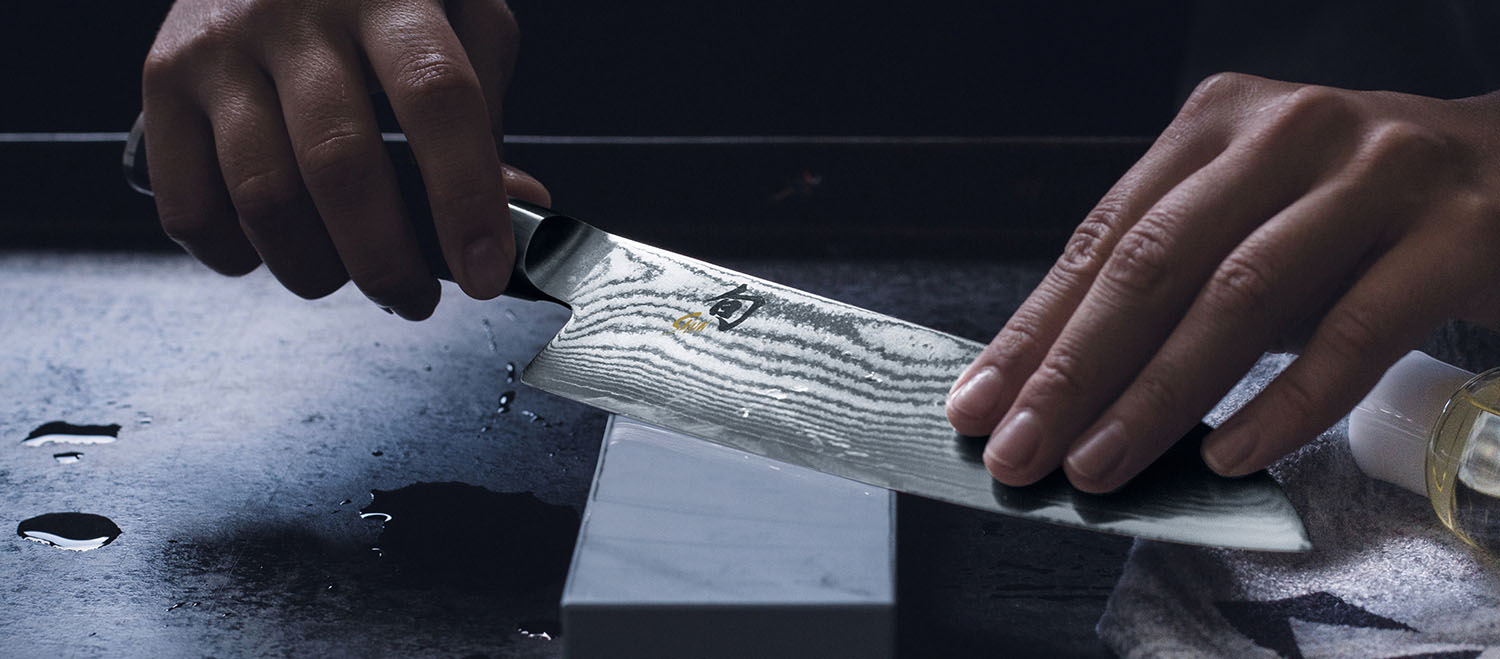
Whetstone Grinding
The finest knives are best sharpened with a ceramic bonded whetstone. With care, preparation, and a good quality whetstone from KAI or Sabatier Professional, you can quickly master this immensely satisfying task at home.
While there are several different techniques for sharpening with a whetstone, we find the following method provides the most consistent results and is very easy to master. If you are new to whetstone grinding, we suggest getting a feel for the process with a low cost knife. A larger blade with an exposed heel is easier to begin your training with.
With a little practice you will soon be sharpening kitchen knives for your friends and family!
Before use, the whetstone should be completely soaked in water for about 10 minutes. Ensure that a light film of water is always visible on the surface during grinding. This acts to lubricate the surface, cool the blade edge and carry away swarf. You will find it useful to have a jug of water or a spray bottle available to keep the surface wet during sharpening. Choosing a stone with a water reservoir helps keep your work area clean and tidy. Alternatively, a damp teatowel placed under the whetstone comes in handy to keep the stone still and soak up any spills.

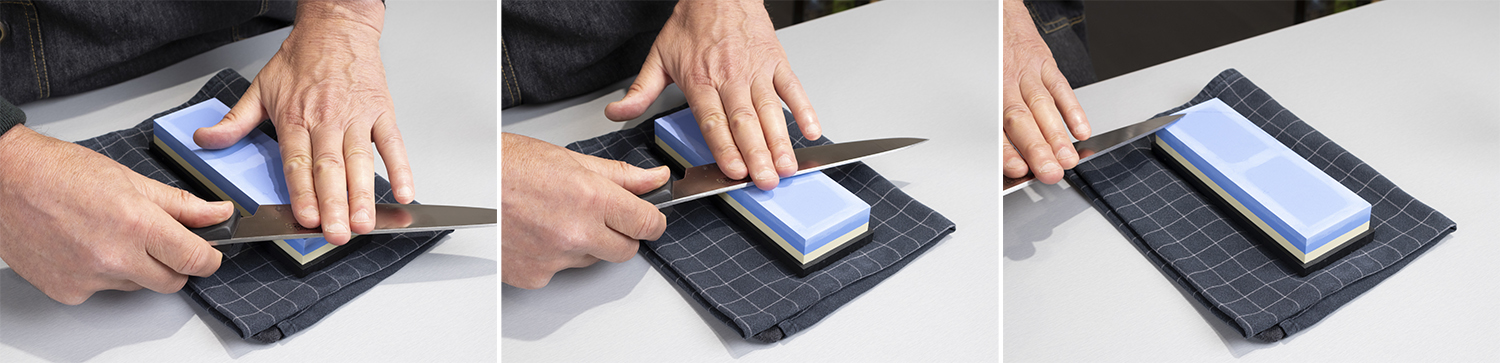
Double-Edged Blades
If you have selected a combination whetstone, start with the coarser side to prepare the edge for fine sharpening. Beginning with the heel of the blade positioned in the top right corner of the stone, keep the knife approximately 20 degrees off the surface of the stone. Placing your left hand over the deepest part of the blade will help you maintain a consistent grinding angle. Sweep the knife back and forth over the full length of the stone using a light pressure, grinding the full length of the blade. At the end of each pull stroke, the tip of the blade should be in the bottom right corner of the stone. Repeat several times moving backwards and forwards over the stone. You should start to feel a fine burr along the opposite edge of the blade.
Turn the knife over and repeat the process on the other side of the blade. Try to use the same number of strokes on each side so you end up with a symmetrically sharpened blade.
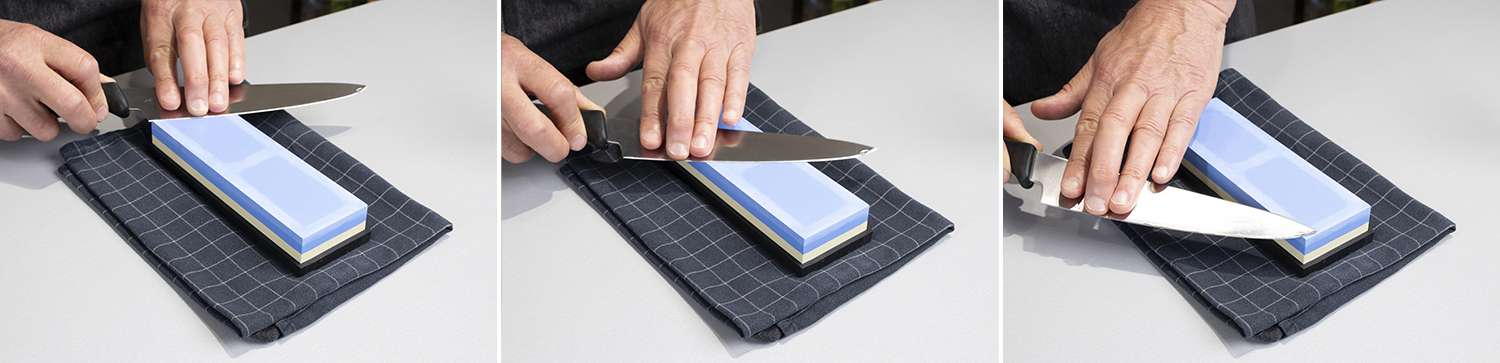
Repeat the process with the finest side of the whetstone to achieve a durable polished edge. It's always a good idea at this point to give the stone a little more water.

Rinse the knife carefully in clean hot water after sharpening, and dry by hand using a soft towel.
Single-Edged Blades
Sharpening asymmetrical Japanese blades is a little different. Start by grinding the bevelled side of the blade using the above method, until you start to feel a burr on the opposite side of the blade. To remove the burr, turn the knife over and lay the hollow ground side of the blade completely flat onto the surface of the stone. Use the finest grit stone you have available. With a very light pressure, work the blade back and forth, grinding in overlapping sections perpendicular to the blade edge.
Rinse the knife carefully in clean hot water after sharpening, and dry by hand using a soft towel.
Using a Sharpening Steel
Put simply, a honing steel is a rod of material that is considerably harder than the blade it is designed to sharpen. Often they are made with very high carbon steel which can be heat treated to obtain the hardness required, or steels embedded with a synthetic diamond compound are becoming increasingly popular.
A good quality honing steel acts to realign microscopic kinks, curls and folds that appear on a blade edge during normal use. They aren’t designed to remove material from the blade, but act to restructure the grind profile for better cutting performance and longer lasting sharpness.
The trick to using a steel is maintaining the edge angle during use. This is best achieved by placing the steel vertically onto a cutting board… you will notice the steel has a slightly pointed tip precisely for this purpose. This will allow you to concentrate fully on a smooth, steady movement with your knife hand. Definitely don’t wave the steel around in mid-air like on the telly, this won’t do your knives any favours!
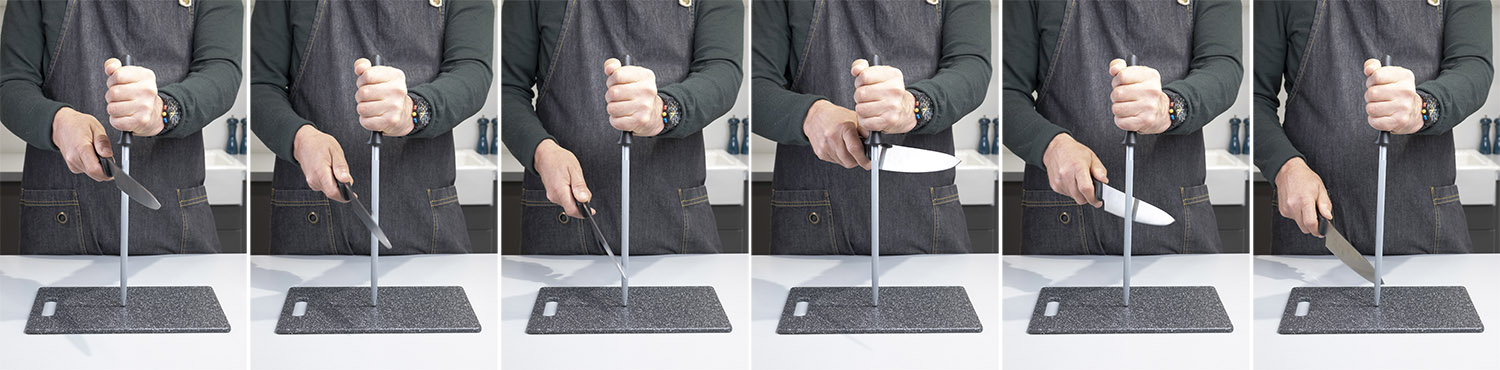
Start with the heel of your knife near the handle end of the steel and sweep down and back, so that the tip of the blade leaves the metal towards the end of the steel. Try to maintain an angle of around 20° between the blade and the steel. Do the same on the opposite side of the blade and repeat the entire cycle 5 to 10 times.
Do this little and often to keep your knives in top condition. Rinse the knife carefully in clean hot water after sharpening, and dry by hand using a soft clean towel. A carbon steel should not be washed – just give it a wipe with a towel and return to the cutlery drawer or knife block.
Countertop Sharpeners
For simple, safe maintenance of your kitchen knives, take a look at our wide range of countertop sharpeners which are designed to take the hassle out of knife maintenance.
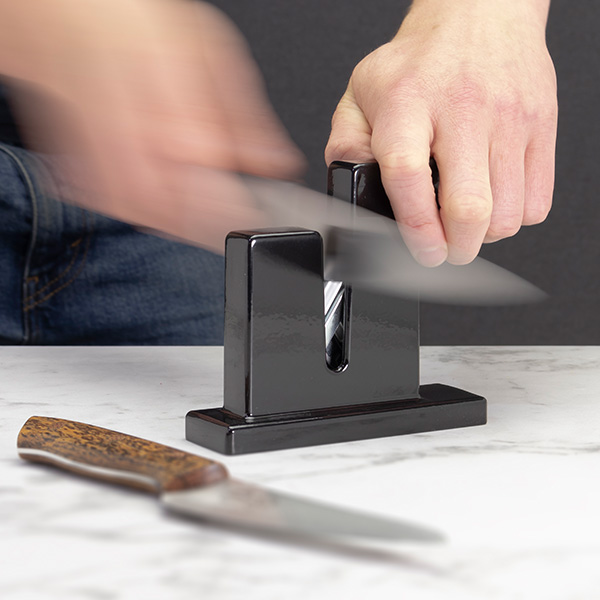
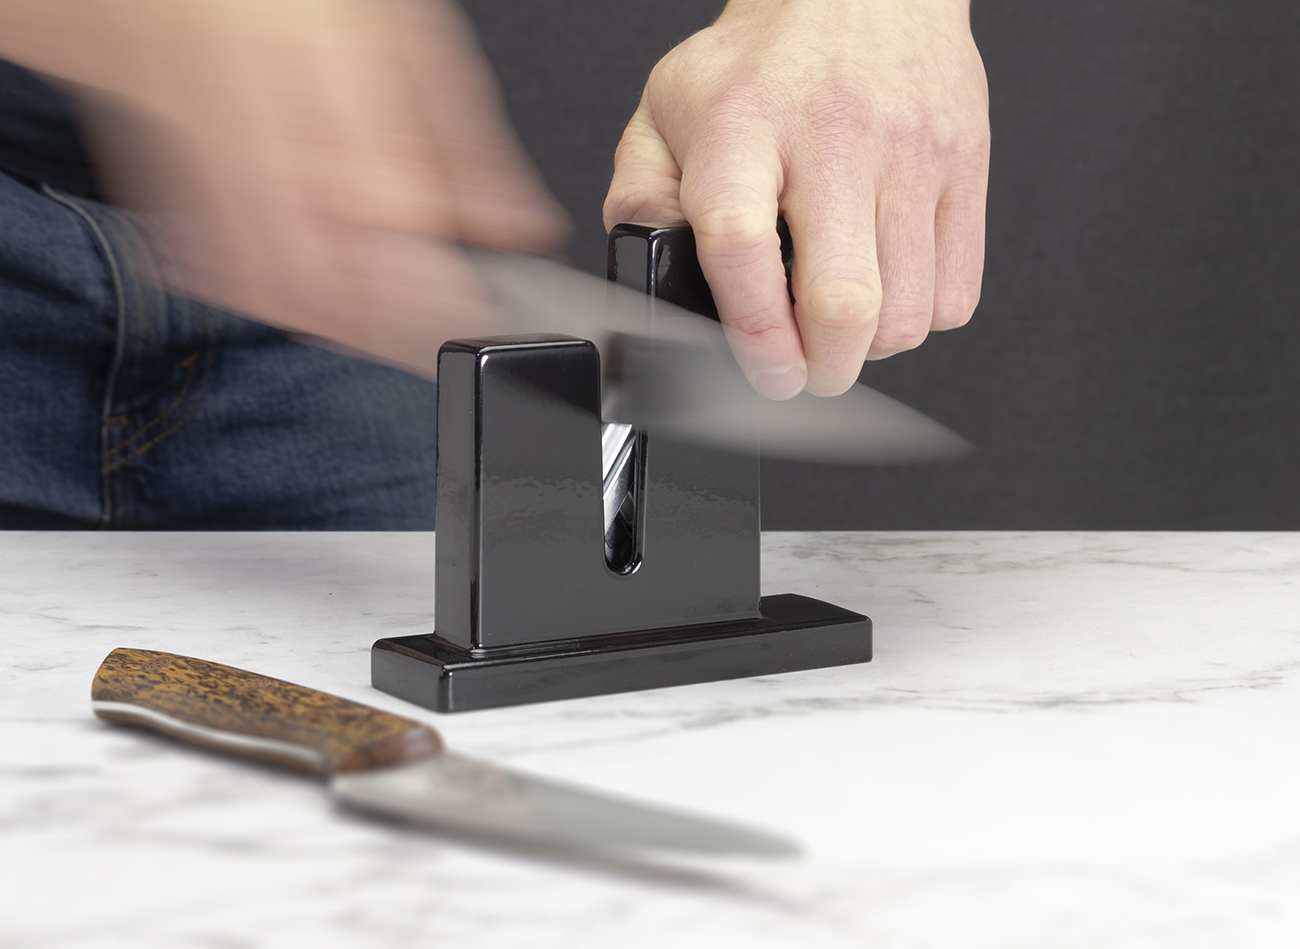
The Original Chantry® Knife Sharpener reproduces the action of a butcher's steel. The carbon steel rods inside the sharpener revolve under tension, realigning bumps and kinks in the blade edge that occur during day-to-day use. The mechanism automatically adjusts to ensure the correct edge angle is applied and sharpens both sides of the blade equally. Works great with bread knives too!
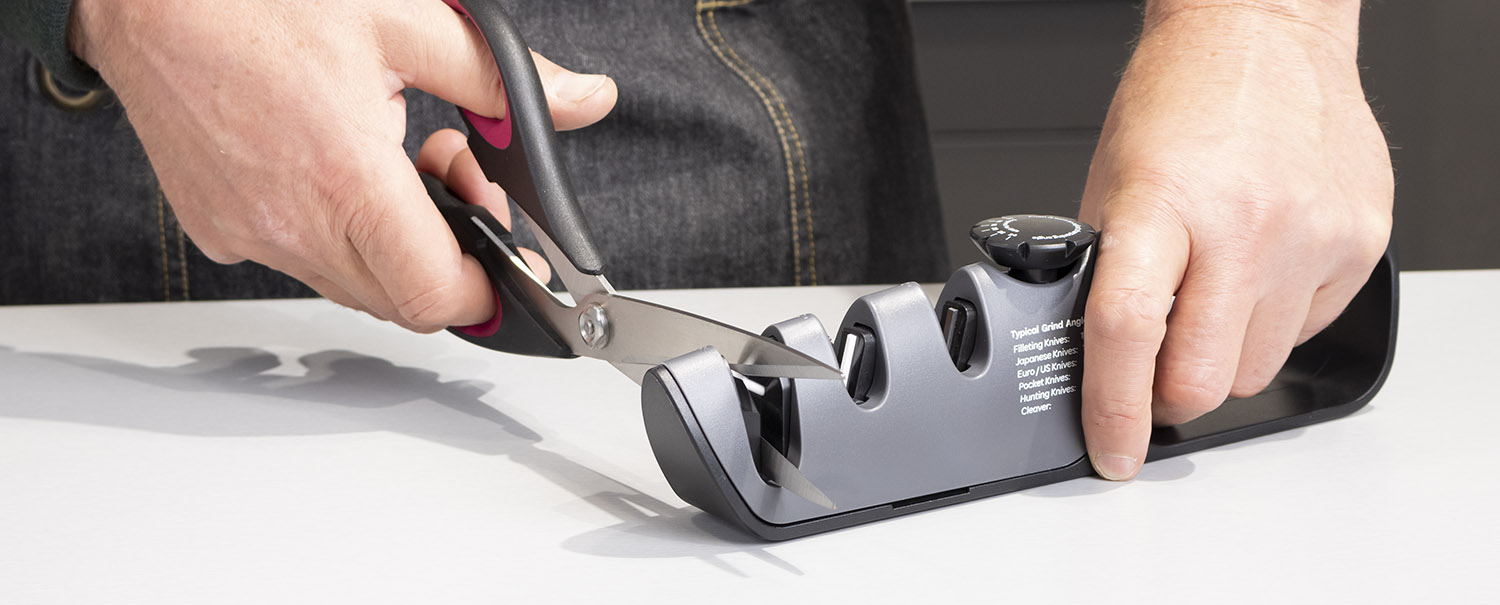
If the edge of your knife has become chipped or damaged, it’s time to resharpen your knife. Consider investing in a multi-stage sharpener like the SureSharp Adjustable Knife & Scissor Sharpener. This neat design is fully adjustable to suit all manner of knife types, from acutely ground filleting knives right the way up to cleavers and sports knives.
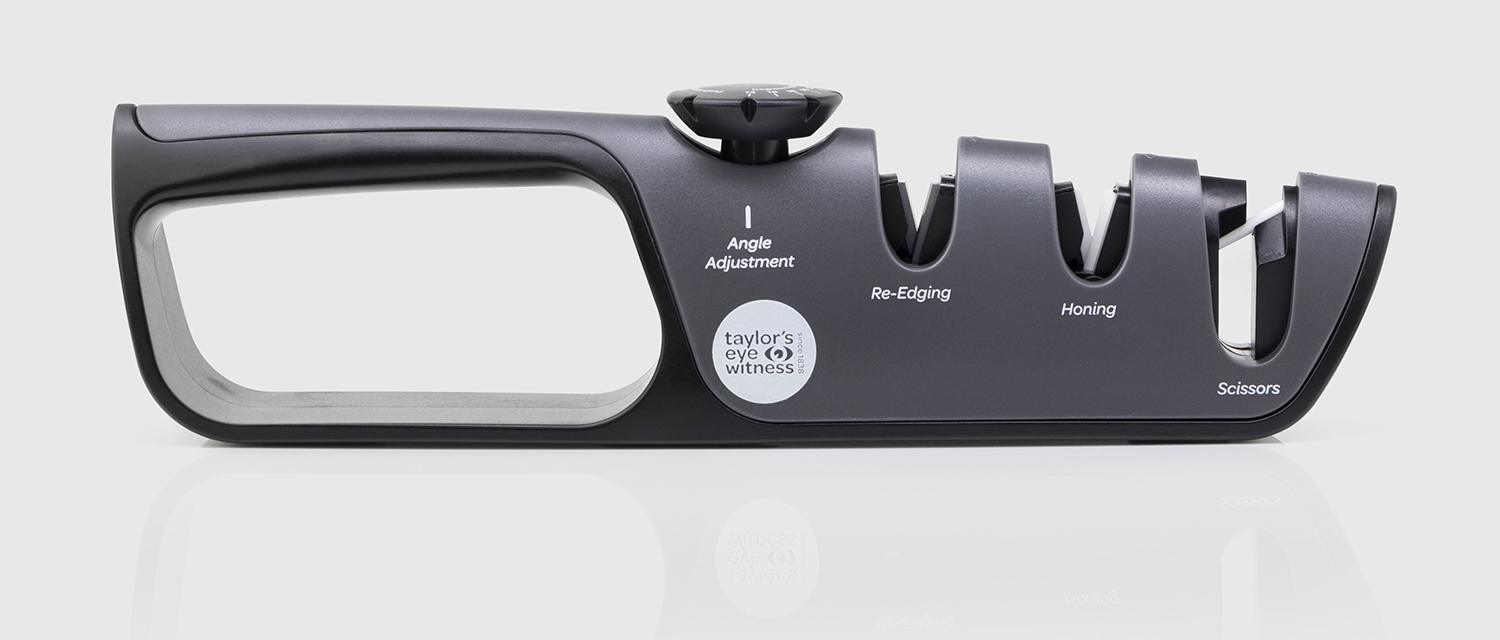
The 2-stage mechanism re-edges blunt knives & hones your knives to keep them sharp. Simply turn the knob to dial in the desired grinding angle from 14° to 24°. If the existing edge angle is unknown, refer to the suggested grinding angles printed on the back of the sharpener.
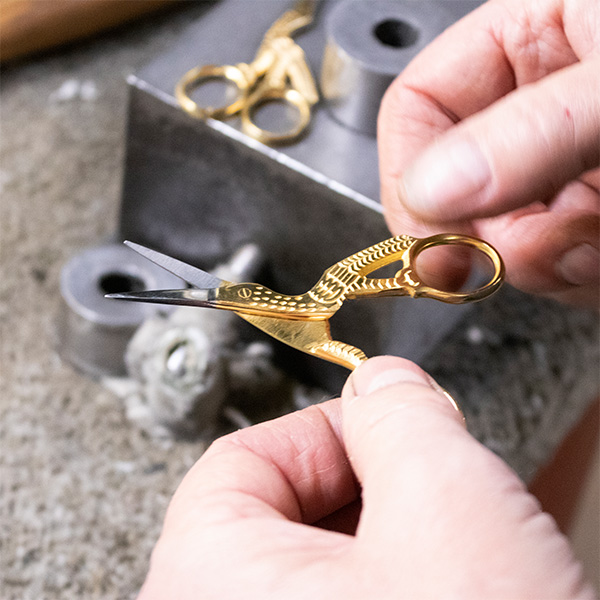
Also includes a very useful scissor sharpening slot. Simply insert the scissors through the slot as far as they’ll go, as if you are trying to snip the ceramic rod. Pull the scissors through while at the same time closing them around the rod. Keep the sides of the blades flat against the vertical plastic guides for best results. Left-handed scissors can be sharpened from the rear of the sharpener.